
As an Amazon affiliate, we earn a commision from qualifying purchases.
If you’re suspecting that your lawn mower battery is dead (or dying), you’d want to test to confirm your fears – you don’t want to purchase a battery only to discover that it was something that was causing the mower to fail to start.
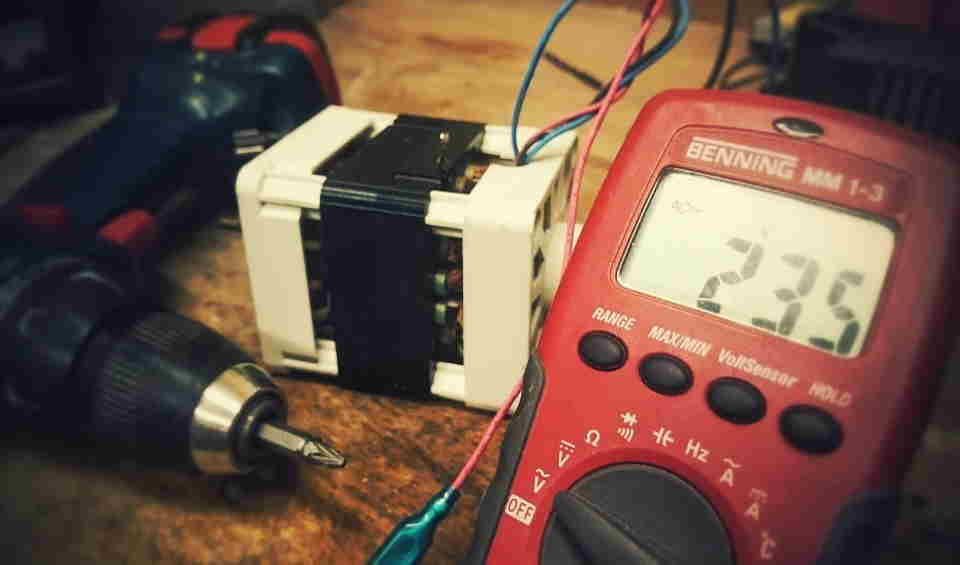
Of course, the best way to conduct the test is to use a multimeter but you may not always have one at hand.
Fortunately, you can still do the test without the tester.
And the good thing is that the simplest test (there are several ways you can test) only takes a couple of minutes.
Read on to learn how to test a lawn mower battery without a multimeter if it is showing signs of distress.
How to test a lawn mower battery without a multimeter
Here is how to test a lawn mower battery without a multimeter (or a battery tester for lawn mower):
Preliminaries
Even before we go very far, it is important to visually inspect the battery- you could find that it is another easy-to-solve issue that is causing cranking problems.
For example, if the terminals are heavily corroded, the battery will have problems starting your mower.
So access the battery and check for:
- Signs of corrosion (see how to clean corrosion here).
- A bulging or cracked battery case (this coupled with signs of warping/distortion are not good signs and you might need to replace the battery).
- Signs of leaks from the top (battery replacement may again be necessary).
Also, pay attention to the wire connections- if any wire connection is loose (from the terminals), the mower may not start because of a lack of reliable flow of electrical energy.
Tighten if necessary..
But if all looks good, you can proceed to the actual test…
Step 1: Turn the headlights on
To test your battery without a testing aid, turn on the headlights BUT you must not turn the engine on. Turning on the headlights puts some load on the battery.
Step 2: Let your mower sit with its lights on for 15 minutes (or so)
Just let your lawn tractor sit with the headlights on for approximately 15 minutes.
Step 3: Try to crank its engine
Now try to crank the mower engine and observe what happens.
You might need a friend or your partner to help you crank it while you’re checking out the lights.
Here is what the results mean:
- If you notice a very modest dimming of the lights as the mower starts, then the battery is probably fine.
- If the lights dim drastically (and even go out), your battery is, in all probability, damaged.
- If the engine takes more time before finally turn over, and you have noticed peculiar clicking noises, then your battery is again definitely troubled and a replacement could be the best solution- it simply means the battery is not able to generate enough voltage to start the mower.
Keep in mind that the above method is the simplest way of testing a battery that seems to be in decline or that you reckon is damaged.
But there are other ways you can test your mower’s battery when you don’t have a multimeter including charging it from scratch and seeing what happens…
Here are the steps:
How to test a lawn mower battery by charging it for 8 hours
- Connect your problematic battery to your lawnmower battery charger.
- Set it for 12–volts (this is the industry standard).
- Leave the battery under charge for the normal duration (which is up to 8 hours for the most part).
Here is what the outcome of the charging process could mean:
- If the battery charges fully, it is most likely in good condition.
- If the battery still indicates low charge status, chances are it is broken and it is time for a new battery.
Symptoms of a bad lawn mower battery
Sometimes you don’t even need a test to confirm your battery is nearly kaput- some signs are so conspicuous that you simply need to order a new battery as soon as you come across them.
- Clicking sounds when starting- As I wrote earlier, you have reason to worry if you hear pronounced clicking noises when you attempt to start the engine.
- The engine is cranking more slowly- If you have noticed that the engine is cranking more sluggishly than normal on trying to start it, your battery may have seen better days.
- Heavy corrosion film- If your engine starts sluggishly, access the battery and carefully inspect the battery. If there is a lot of corrosion —the positive terminal is the usual culprit—your battery could be troubled especially where the corrosion keeps returning after cleaning it. Don’t overlook this prominent red flag!
Helpful tip: If your lawn mower’s battery has died and you need to cut grass right away, try to jumpstart it (this needs to use jumper cables to have it going again). This article outlines how to do this safely.
How to test a lawn mower battery without a multimeter – recap
You don’t always need a multimeter to test if your riding mower battery is dead (or just suffering from winter hangovers).
The simplest test is: just turn on its headlights (don’t start its engine) and try to start the engine (after 15 minutes) and check what happens.
If there is no cranking at all (from the engine) when you attempt to start it, the battery is likely to be dead in many cases.
In addition, you will notice that the headlights become extremely dim- and could even go out because they’re receiving too little juice.
Lastly, if the mower cranks a bit (without actually starting), your battery is nearly dead/dying.
Sure, the guilty party -when you observe this behavior- maybe something else and not the battery but in most cases, it is.
ALSO READ:
How to charge a lawn mower battery with a car the right way
Battery charger for riding lawn mower [3 best picks]
Charging a lawn mower battery amps (What’s the right amperage?)