
As an Amazon affiliate, we earn a commision from qualifying purchases.
We explain how you can go about levelling a lawn that is already laid in this article
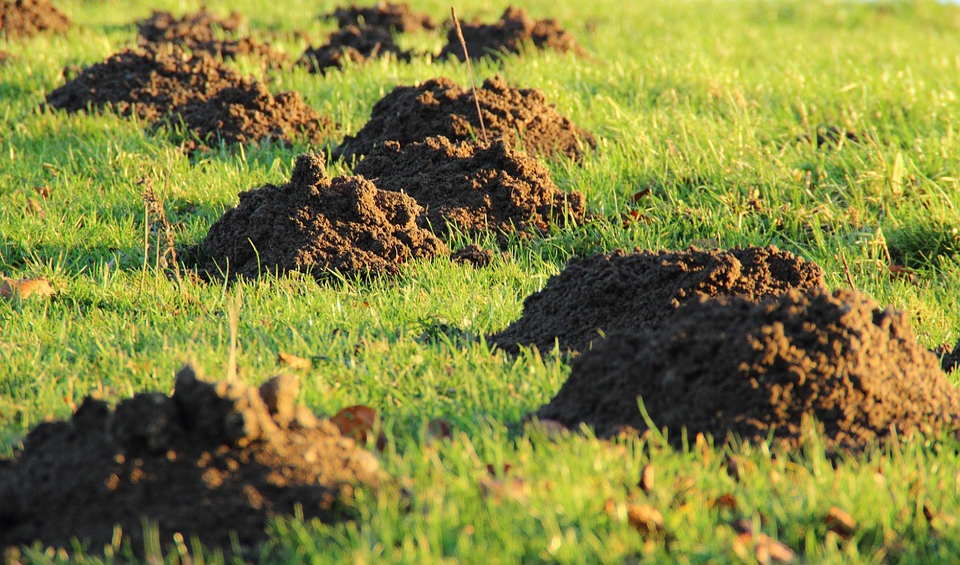
Sections of your lawn can become rough after you’ve already laid it due to rodents/earthworms activity, freezing and thawing conditions, dog’s digging, and such causes.
The good news is that levelling a lawn that is already laid is not rocket science and any garden owner can do it.
Below we share some of the best tactics you can employ to smooth the yard and create an eye-pleasing luscious green lawn that will be the pride of the entire neighborhood.
How to go about Levelling a lawn that is already laid
Approach 1: Fill in all the lumps (using fill dirt to level backyard)
This can be a bit back-breaking but to its credit, the results are almost instant.
Plus, it’s pretty inexpensive.
Procedure
You simply fetch some soil from other spots in the yard then use it to cover the ugly gaps.
For the best outcome, we recommend that you leave it a couple of days then topping it up where necessary once it sinks.
You may then plant fresh seed or allow the grass to grow naturally over the area.
Useful Tips:
- A cane would suffice when it comes to confirming if you’ve attained the desired level.
- Don’t worry about the inevitable muddy patches- they will eventually disappear.
Approach 2: Levelling a lawn that is already laid with topdressing
The top dressing method works like a charm but you may need to be a little patient.
Procedure
Step 1: Preparing the lawn top dressing mix
Prepare a mix of soil to use for the leveling.
Regarding the best fill dirt for yard, we suggest that you mix play sand and soil (debris-free topsoil/potting soil) in the ratio 70:30.
People typically mix this in a wheelbarrow/tub using a shovel. It’s important to mix thoroughly so the two ingredients become fully blended.
Step 2: Apply the topdressing
Apply about ½-inch layer of the leveling mix atop all low areas.
Rake (a garden rake works well) the freshly applied topdressing to ensure its spread out evenly.
Step 3: Working the mix
Brush the grass until the grass blades are exposed (we all know that grass can’t grow well when covered with soil).
Step 4: Watering
The final step is watering the section moderately you have just worked on. This helps grass to recover quickly.
Tips:
- Keep an eye on the lawn and consider topdressing all lingering uneven spots all over again- those still standing after the rest is completely ‘healed’ (could be after several days/weeks).
- It’s advisable to mow the patches of lawn you’re planning to level before beginning. This not only helps you clearly see the areas as you work but also allows you to apply the mix directly to the surface.
Approach 3: Dig up the troughs
The third method involves getting underneath the dips: somewhat trickier yes but definitely worth it.
Procedure
- Slide through the turf all around the edges of every sunken area with a flat spade. Be cautious because you don’t want to fatally injure the roots.
- Lift the edges carefully –use more muscle if needed while being vigilant- and remove the grass patch. Set it aside.
- Spread enough topsoil/potting soil into your hole. You want it to become perfectly level with the lawn surrounding it.
Tip: Be sure to water the soil you’re spreading lightly to get rid of air pockets that can cause future settling.
- Now replace the patch of turf and water your lawn well. It will be on its way to becoming beautifully balanced once again.
Approach 4: renovating the lumpiest patches of grass
If you face more serious depressions (greater than 2 inches), it’s more ideal to adopt leveling strategies that allow you to sow new grass seed instead of top dressing the lawn.
I know you’re worried that this could be something complicated and expensive. Not at all.
What you do is just fill the low points with quality soil mix – and you can use any DIY method for this- then replant new grass seed.
Procedure
Step 1: Cover the sunken areas
The first step in this sunken lawn repair task is to fill in those deeper depressions with soil (as always, the soil should be free of mulch, weeds, etc.).
You may use a shovel to dig up and carry the soil from identified zones.
Tip:
To successfully cover the trenches, walk over the soil to compact it after dumping each shovel-full of dirt in there. Remember to wet the dirt as you do this.
You will stop adding soil when the ditch is level with the rest of the lawn.
Step 2: Seeding
Before seeding, prepare the topsoil as indicated in the seed-planting instructions printed on the packet (You’ll have, of course, bought appropriate grass seed depending on where you live).
Next, spread your seeds evenly.
Now sprinkle extra topsoil to cover the seeds lightly then tamp it down a bit.
Proceed to water the grass as required to encourage germination.
Give the grass some grace period to grow adequately and then reseed spots where it does not grow to your satisfaction.
How to Level severely bumpy Lawns
There’s no shortcut for lawns that are extremely uneven and you likely need to renovate the whole yard.
It will certainly mess your finances but it’s better than going for half-solutions that will never truly restore your lawn to its former glory.
You will begin by grading it afresh, then prepping the soil, followed by grass seeding (another alternative would be planting new sod), and finally nurturing your lawn to maturity.
How not to approach the levelling a lawn that is already laid
Some folks make the mistake of deploying a heavy roller on the yard thinking that it will help flatten the lawn.
Well, the bad news is that while it may clear some of the unevenness, you’ll probably compact the soil exceedingly, potentially damaging the turf in the long run.
That is the last thing you want.
ALSO READ: What is a lawn roller used for? We have all the answers