

As an Amazon affiliate, we earn a commision from qualifying purchases.
Whirlpool Ice Maker Not Making Ice? Try These 15+ Proven Fixes
In this post, I’m going to show you how to get your Whirlpool refrigerator ice maker working again—and making ice like it’s supposed to.
Whirlpool Ice Maker Not Making Ice? Try These 15+ Proven Fixes
Start by resetting the ice maker.
I actually have a Whirlpool myself, and here’s what worked for me.
I turned the ice maker setting off, then back on.
After that, I cut the power to the refrigerator and turned it back on.
When I checked again about thirty minutes later, I had six brand-new ice cubes.
So sometimes, that’s all it takes—and that’s why I recommend trying this first.
It might just need a simple reset.
There a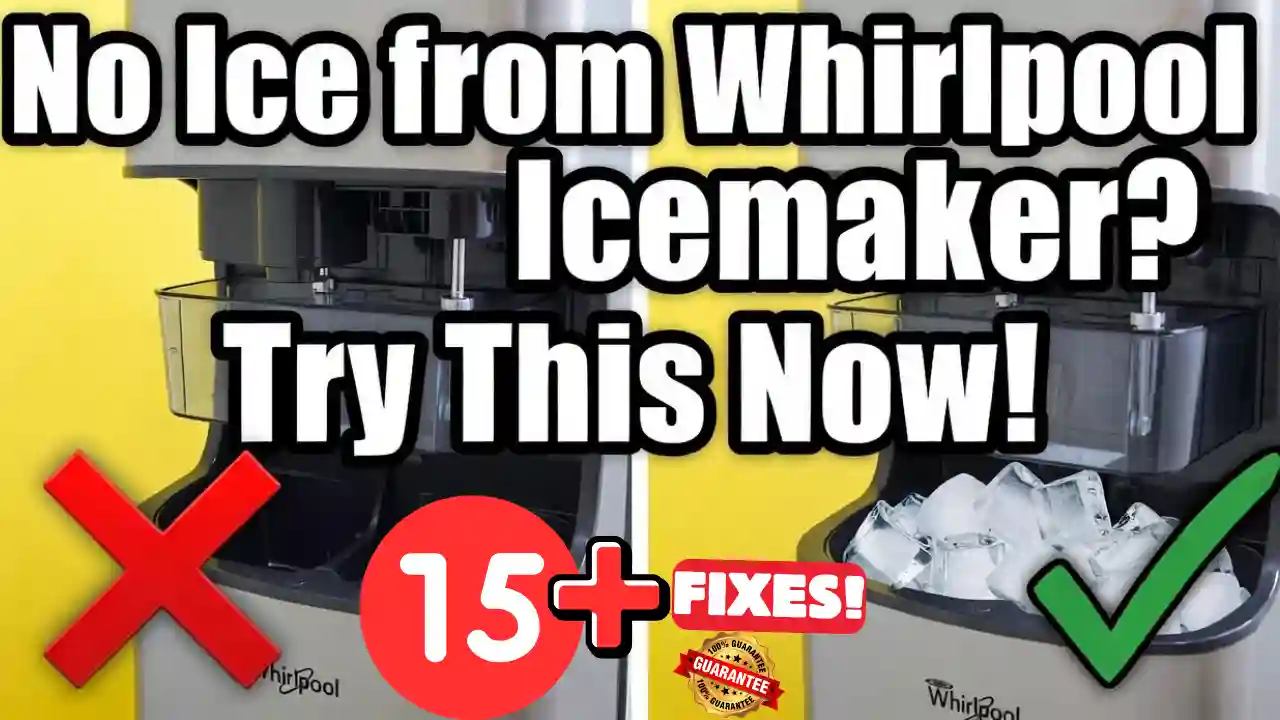 re a few other simple things you should check before we go any further..if resetting it didn’t help:
Swap the water filter
If the reset didn’t work, the next thing to check is the water filter—especially if you haven’t replaced it lately.
A clogged or bad filter can restrict water flow and stop ice production.
Filters should be replaced every six months, but using the wrong filter or installing it incorrectly can also cause problems—so make sure it’s seated properly and the seals are tight.
Here’s the recommended replacement filter just in case you want to check price.
Check water Pressure

Another important thing to check is your home’s water pressure.
If the pressure is too low, the ice maker won’t work properly.
A qualified plumber can quickly test your water pressure and confirm whether it’s within the recommended range.
Check the Stat
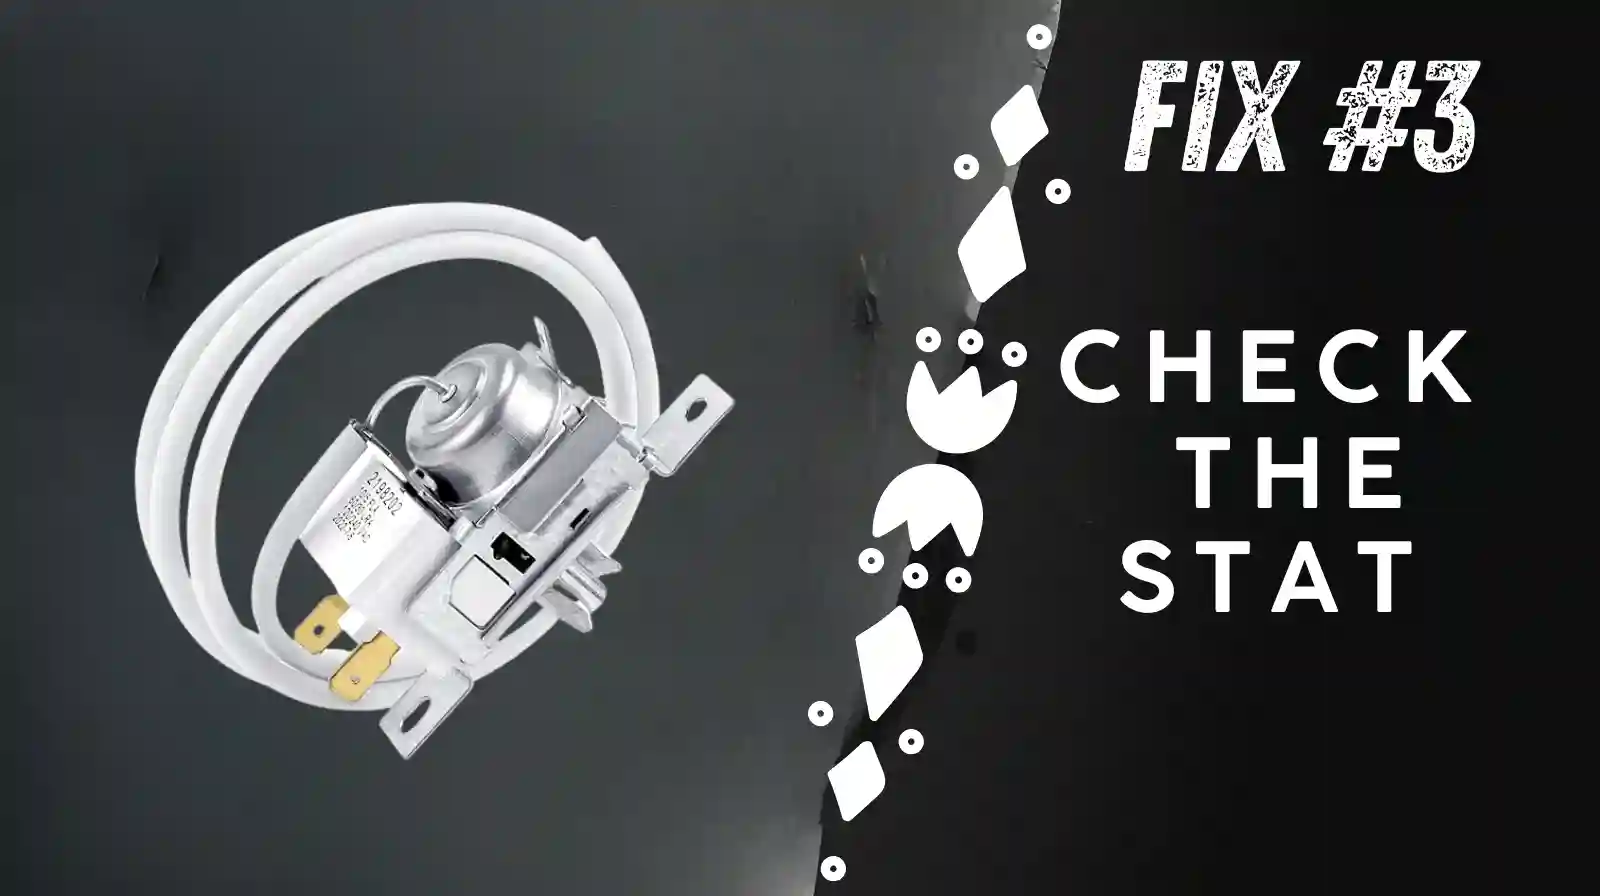
The last simple thing to check is the thermostat.
If it’s faulty, it won’t signal the ice maker to start producing ice.
Test it for continuity with a multimeter—and if there’s no continuity, it’s time to replace it (UPGRADED 2198202 Refrigerator Cold Control Thermostat Replacement).
If the previous checks did not help, proceed with the following steps:
Check the Temp
Now this one is huge—check the temperature at the ice maker.
If it’s too warm, the ice maker will not make ice. Period.
It won’t even cycle unless the mold temperature drops below ten degrees Fahrenheit.
No cold… no water… no ice.
Use a remote sensing thermometer and check the freezer temperature.
If it’s not cold enough, turn it down and let it cool.
A quick pro tip—adding ice from another source can help bring the temperature down faster.
Once it’s cold enough, try again and see if the ice starts flowing
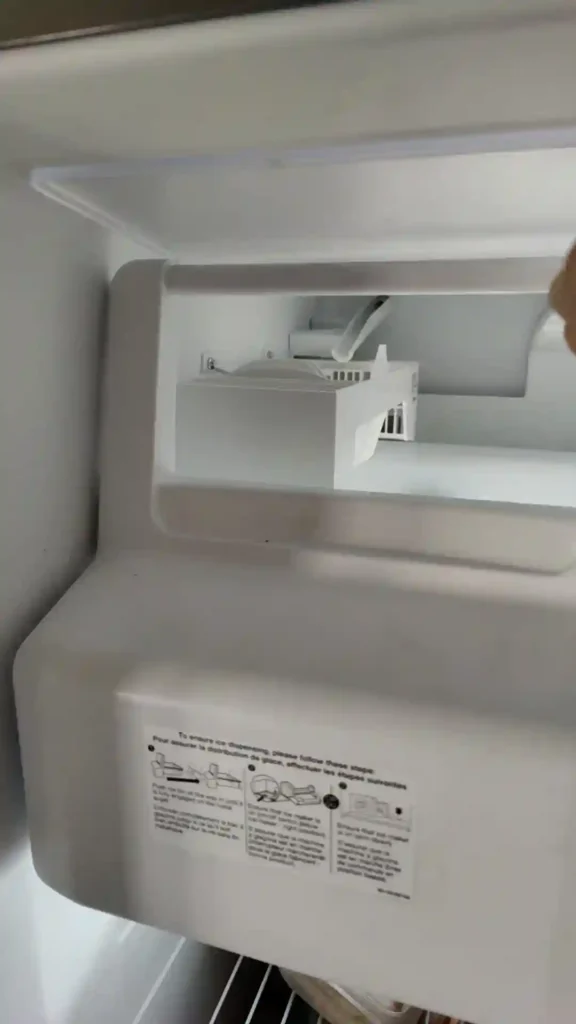
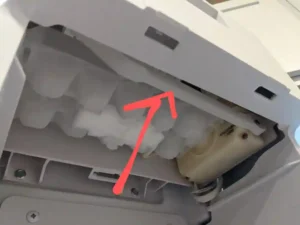
Inspect Icemaker itself
Next, let’s focus on the ice maker itself.
Sometimes, an ice cube can get stuck inside and jam the mechanism.
Try reaching in carefully with your hand and see if you can free it.
That might be all it takes to get it making ice again.
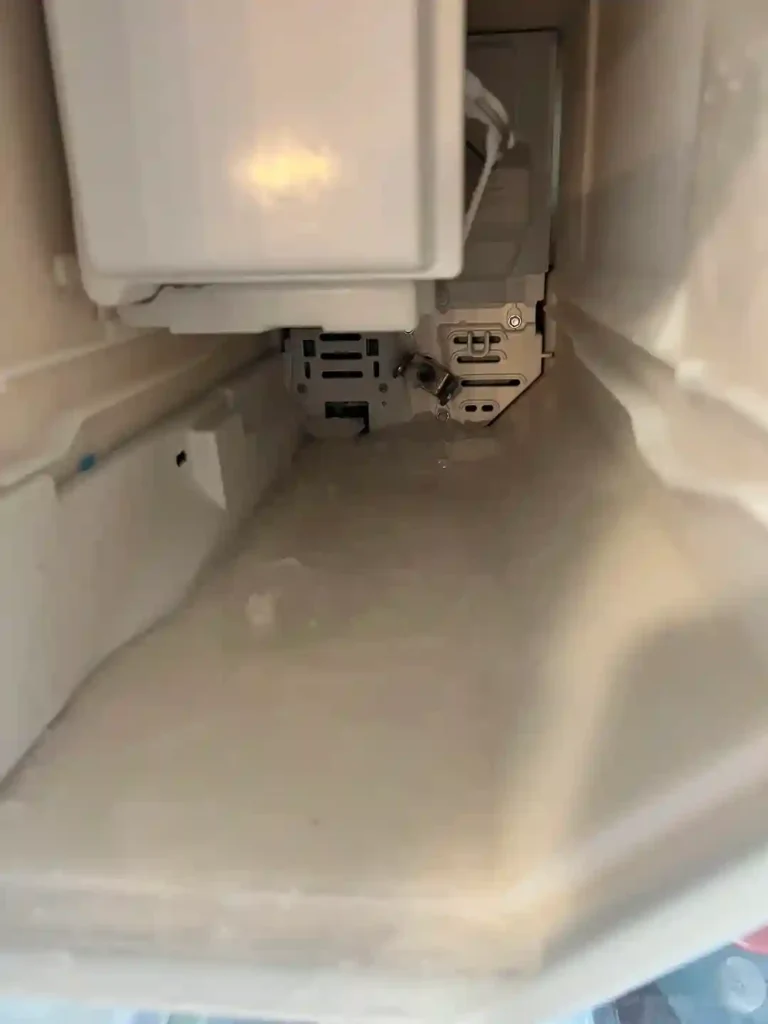
Remove And Then Reinstall The Icemaker
Next, remove and then reinstall the ice maker.
Take it out—there are three screws and a plug—then clear out any existing ice.
Make sure all the teeth are in place and nothing is jammed.
A jammed auger, often caused by ice buildup or a blockage, can completely stop a Whirlpool ice maker from making ice.
Once it’s cleaned and thawed, plug it back in and check if it fills with water and starts cycling.
Make sure all plugs are securely connected.
So basically, removing and reinstalling a Whirlpool ice maker can fix problems by clearing blockages, resetting parts, or fixing connection issues.
Check for Broken Wiring (below the Door)

Alright, here’s a big one! Check for broken wires at the bottom of the freezer door—this happens a lot on some Whirlpool side-by-side models.
Opening the door too hard can tug on the wires to the ice maker and snap them!
To fix it, unplug the fridge, remove the bottom grill or panel, and inspect the wire loom.
Sometimes the wires look fine but are broken inside.
Pull gently—if it stretches, it’s broken.
Splice in about six inches of new wire for each broken one, plug it back in, and you’re good to go!
Simple, but it can save your ice maker from stopping completely!
Check the Water Line- Thaw it if frozen
If your Whirlpool ice maker still isn’t making ice — here’s another big thing to check.
Look at the fill tube at the back of the ice maker — it may be frozen.
You’ll also want to check the main water inlet line, because both of these are very common problem areas.
This usually happens due to a slow drip from a faulty water inlet valve — or cold air leaks.
Start by defrosting the fill tube.
Use a hairdryer on a low heat setting and gently thaw the tube at the back of the ice maker.
Keep the dryer moving — don’t focus the heat in one spot.
Once it’s thawed, blow air through the fill tube.
It should feel completely clear.
Next, check the main water supply line behind the fridge.
If it’s frozen, gently thaw it using room-temperature air or a hairdryer on low.
Make sure the line isn’t kinked or pressed against very cold surfaces.
When everything is thawed, reconnect the water line and run the ice maker.
If it fills with water and completes a full cycle — you’re good to go.
Check the Inlet Valve
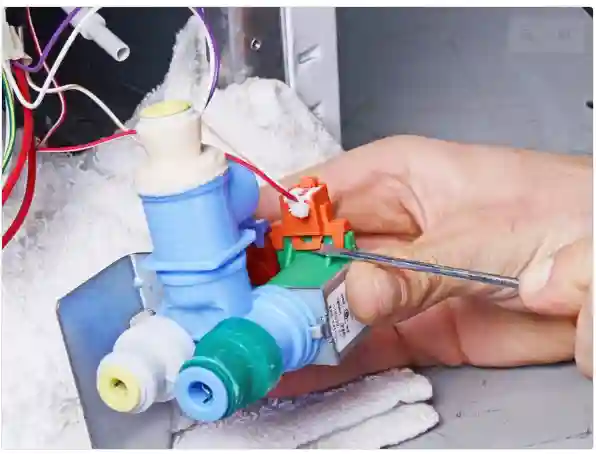
If the water inlet line isn’t frozen — the problem is probably the inlet valve.
Here’s the deal: if the valve has failed, the ice maker won’t fill with water when it calls for it — and that stops ice production.
If your ice maker is cycling but not making ice — check the inlet valve at the back of the fridge.
If you have a multimeter, test the valve.
Grab the fridge tech sheet — it’ll tell you the voltage you should be seeing.
But first, make sure water is reaching the valve.
If the valve is dead — replace it and run the ice maker again.
In my experience, this fixes the problem most of the time.
I’ve linked the original replacement here— check it out!
Whirlpool Ice Maker Not Making Ice? – Final repairs to try
In this final part, I’m going to share a couple of other fixes worth trying if your Whirlpool fridge ice maker still isn’t working.
To start, consider installing an Optics Board Kit — you can see it down here.
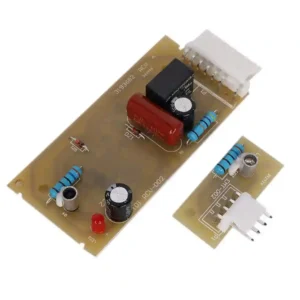
This part is actually designed specifically to fix this issue.
Here’s how it works: the optics board scans ice levels in your container. When it fails, your ice maker can stop working completely.
To check if you need it, enter diagnostics mode on your fridge using the instructions from your tech sheet. If the unit fills with water while in test mode, that means the optics sensors are at fault.
I’ve included a link to the part, and you’ll find installation instructions there as well. It’s another simple, straightforward repair that can get your ice maker back up and running.
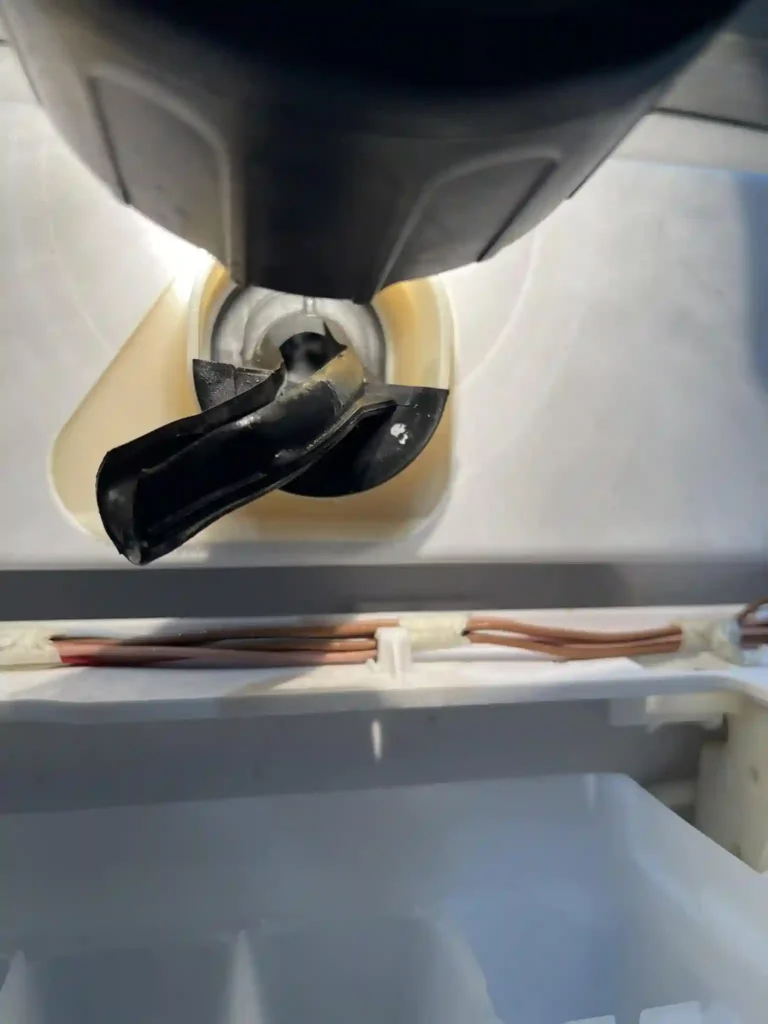
Check the ice maker shut-off arm
Next — check the ice maker shut-off arm.
Yes — a bad or stuck shut-off arm on a Whirlpool fridge can completely stop ice production.
If the arm can’t move freely — or gets stuck in the up, or full position — the ice maker thinks the bin is full and shuts itself off.
Start by checking for ice buildup or debris around the arm.
Gently free it and make sure it’s in the down — or ON — position.
After that, you can also try resetting the unit.
But if the arm is broken or damaged — it needs to be replaced.
I’ve linked the correct replacement part here
Replace the IceMaker
The final suspect is the entire ice maker unit itself — and at this point, your best bet is usually replacing it.
To confirm, remove the white front cover.
Inside, you’ll see terminals marked T and H.
Jump these with a wire to force the ice maker into a test cycle — but only when the door switch is engaged.

If it won’t advance through the cycle — the ice maker is bad.
The good news? Replacement is pretty straightforward.
When installing the new ice maker, make sure you line up the fill tube correctly.
That’s the plastic tube at the back of the freezer — you’ll see it clearly once the old ice maker is removed.
Very important — unplug the unit before working on it.
Also, your new ice maker may or may not come with the bail arm, the metal arm that moves up and down.
If it doesn’t, simply transfer it from the old ice maker to the new one.
I’ve linked the recommended replacement part here.